The Background.
Our client, a local artist with a keen eye for design and aesthetics, came to us about renovating her primary bathroom. The space had seen better days since the 1960s and it was a little too small for her and her (very) tall spouse. There was a little “nook” for extra storage between the bedroom and the bath that wasn’t being fully leveraged. We knew we wanted to use this area for extending the space so layout updates would need to be made.

BEFORE: The storage “nook” between the existing bathroom and bedroom.

BEFORE: Existing bathroom that housed a tub/shower, sink, and toilet.
The Layout Updates.
We enlisted the help of Kaitlyn Rose Interiors to help nail down an updated layout and provide some renderings for our client to visualize some potential tile selections and finishes.

Initial renderings of the space by Kaitlyn Rose Interiors.
After much deliberation however, we determined with our client that the two existing spaces were to remain separate instead of opening everything up. The client liked how the existing small bathroom kept everything warm and steamy after a shower so we determined we would keep the existing bathroom space separate, but make it purely a wet bath. The “nook” between the existing bath and bedroom would house the new vanity, toilet, and some storage.
It was initially proposed that the original tub would be eliminated to make a larger space for the shower; however the client really loved the tub (as did we!) so we salvaged it and kept it in its existing location. Since the tub was to remain in the wet bath area; we knew we would have to build a custom step to ensure the tub was elevated and fully waterproofed.
The Finishes.
Our client was very mindful of the age of their historic Mid Century Modern home when picking out the finishes. A new hexagonal floor tile (same shape as the existing) and a vertical stacked pattern for the walls were carefully selected to stick with the MCM style of the home.
A vintage dresser, fabricated during a similar timeframe in which the home was built, was sourced by the client for us to convert into a vanity as well. We reconfigured the drawers on the lefthand side as a door to allow easy access to the sink plumbing.

BEFORE: Making tile selections and ensuring the vintage dresser would fit nicely as the new, repurposed vanity.
BEFORE: Unfortunately we could not salvage the original window as it would not be up to code in the shower; however we donated it with the hopes it ends up in another local home someday.
With the vertical stacked pattern on the walls, we knew we wanted to keep things as clean and polished as possible with the installation. Our goal was to ensure there were no awkward cut tiles in the corners of the wet bath and around the custom-built niches. In order to accomplish this, we thoroughly planned and executed framing to ensure that the measurements allowed for only full tile to be installed. This took a lot of extra time planning- and labor-wise; however it was well worth it in the end. The only cut tiles are around the existing window opening and the original tub.
AFTER: No awkwardly cut tiles in the corners of the wet bath area.

AFTER: Custom-built (not pre-formed) niches were fabricated to ensure there were no awkwardly cut tiles around the niche(s).
And without further ado … here are some before and after shots of a project we are so proud of!
The Big Reveal.

Before and After.

BEFORE: Storage nook not used to its full potential.

AFTER: Sink relocated to this exact spot to allow for more space in the back part of the bathroom for separate tub and shower.

BEFORE: Storage above the existing location of the toilet.

AFTER: Toilet relocated into existing storage nook to allow for more space for the shower.

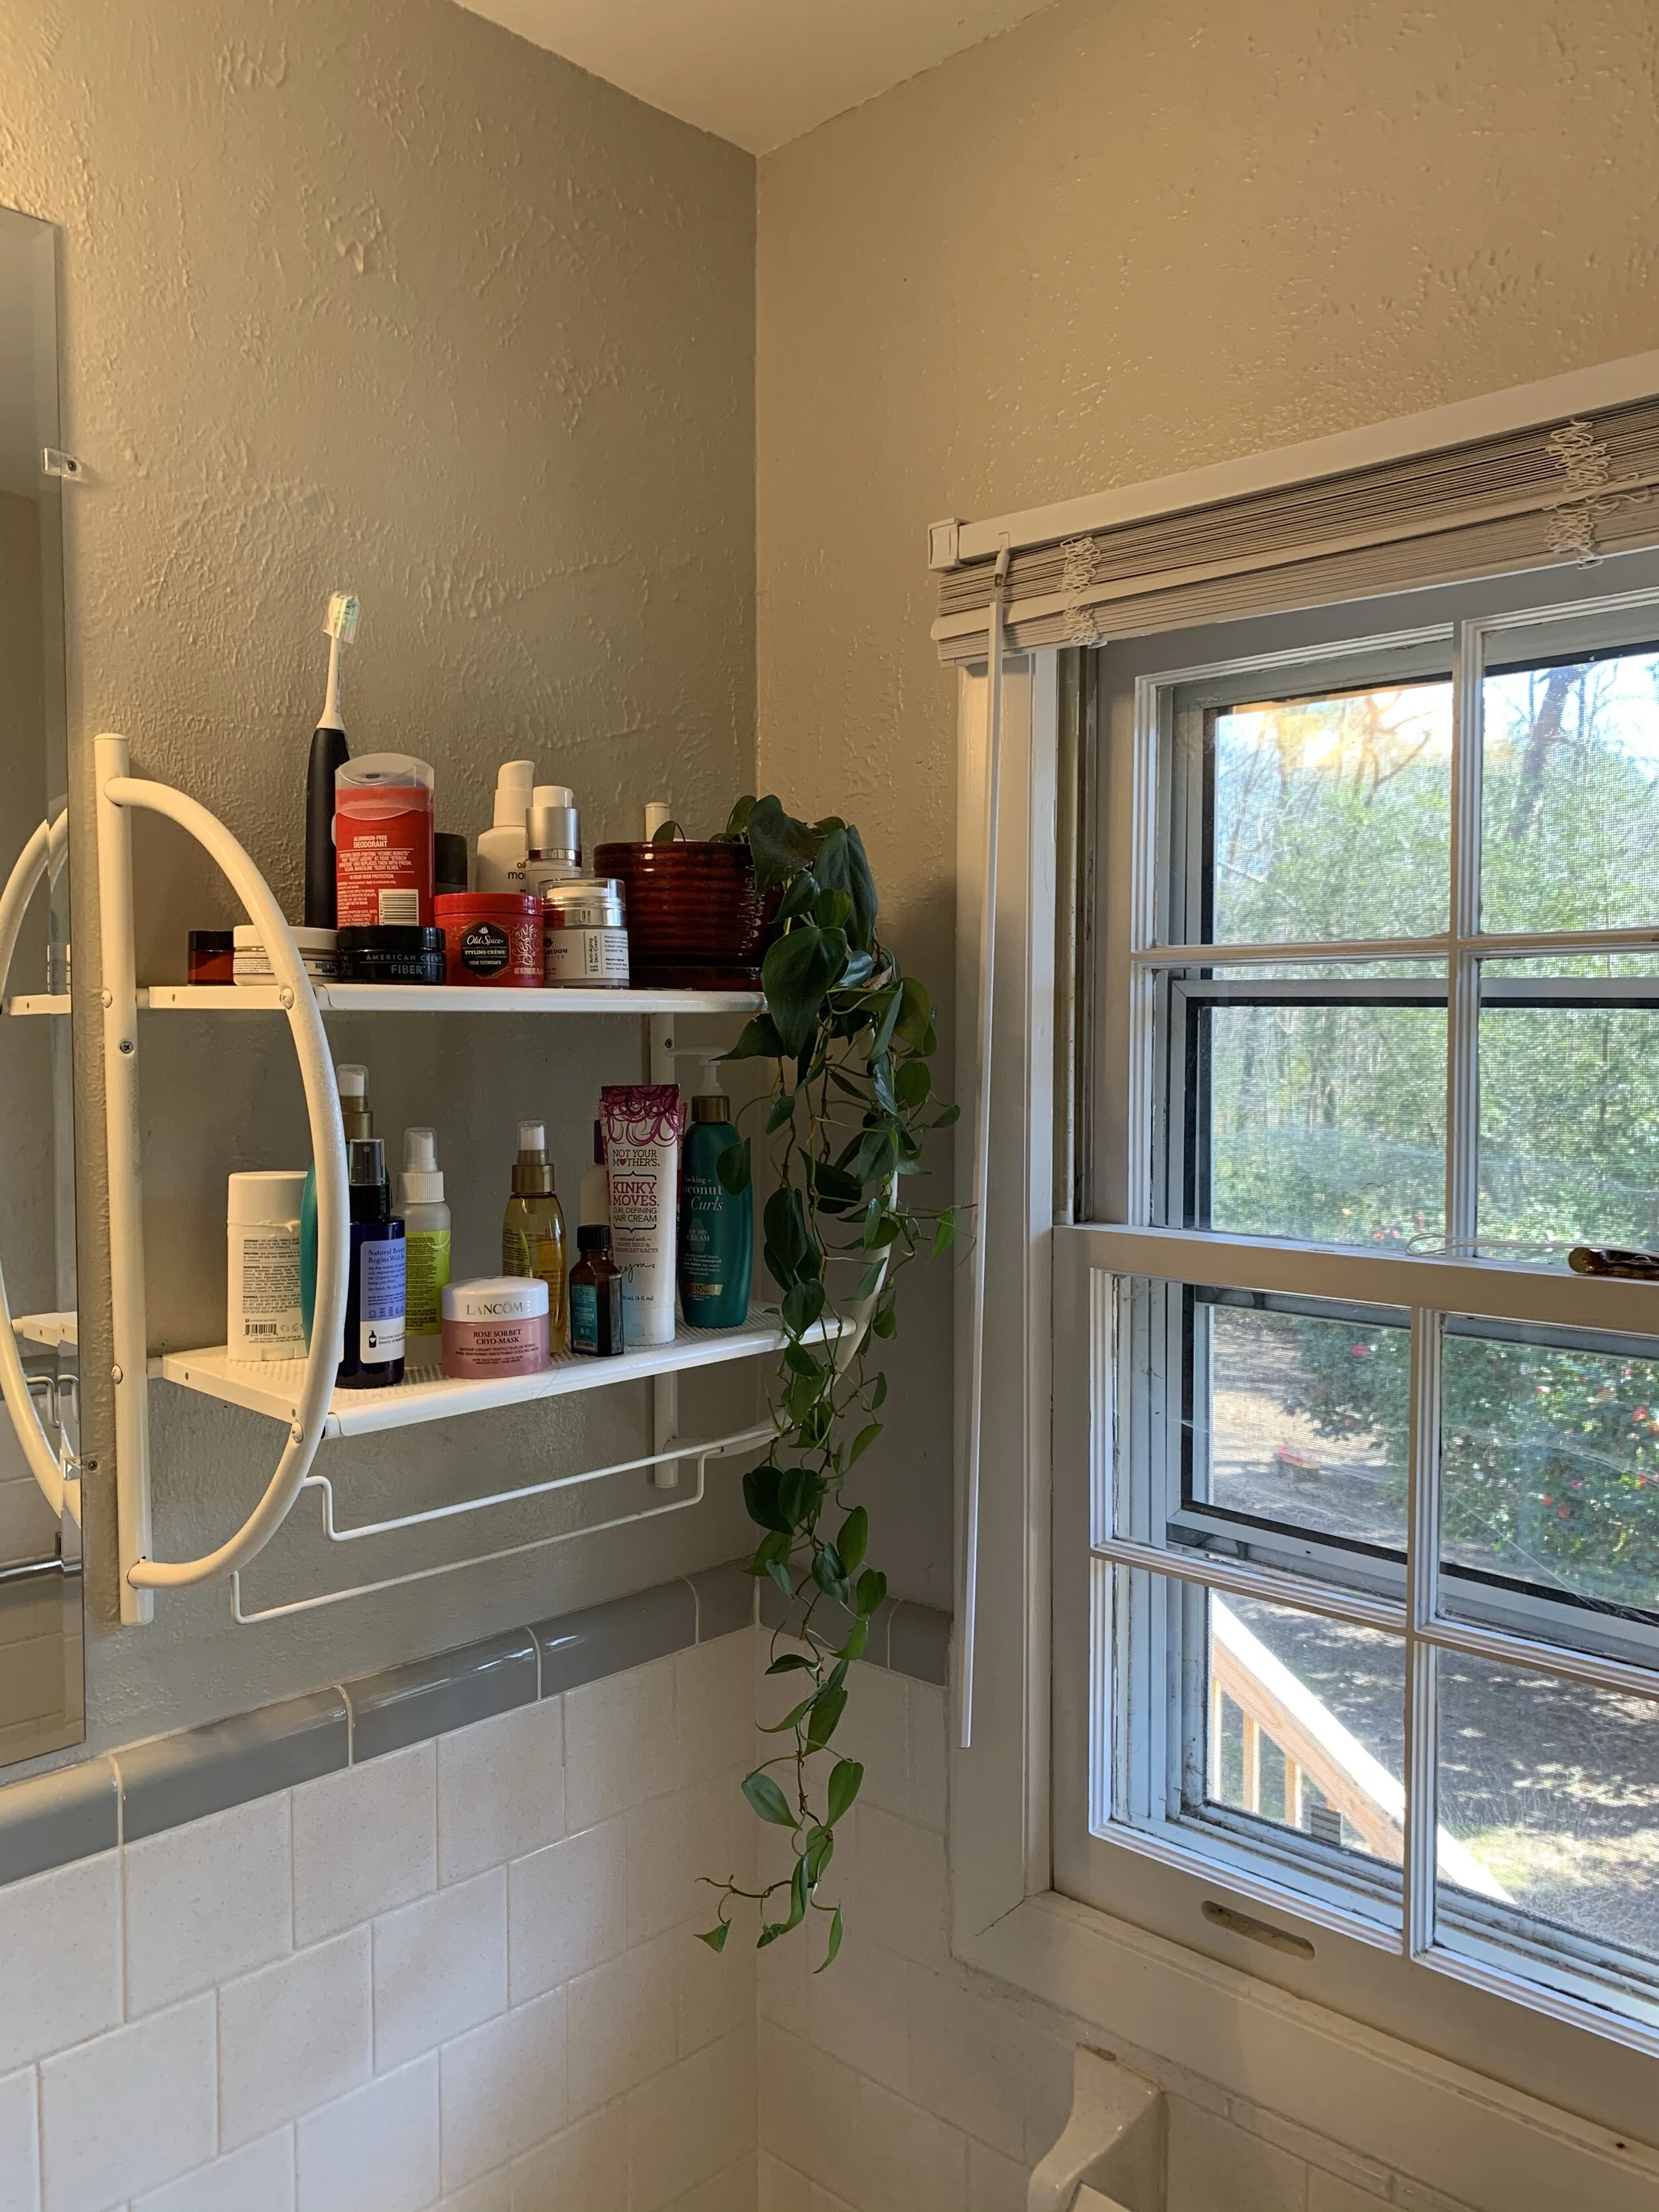
BEFORE: The original louvered sliding closet doors were a bit cumbersome for bathroom storage.

AFTER: Open shelving (made from salvaged vintage adjustable shelves) provided easier access to linens. (Not to worry, the original louvered door style is found elsewhere throughout the home!)

BEFORE: Sink, toilet, tub/shower combo all crammed in one tiny space.

AFTER: Sink and toilet relocated into existing storage nook to allow for extra space for tub and shower in new wet bath area.
Note: Shower glass door to be installed between the two areas at a later date.

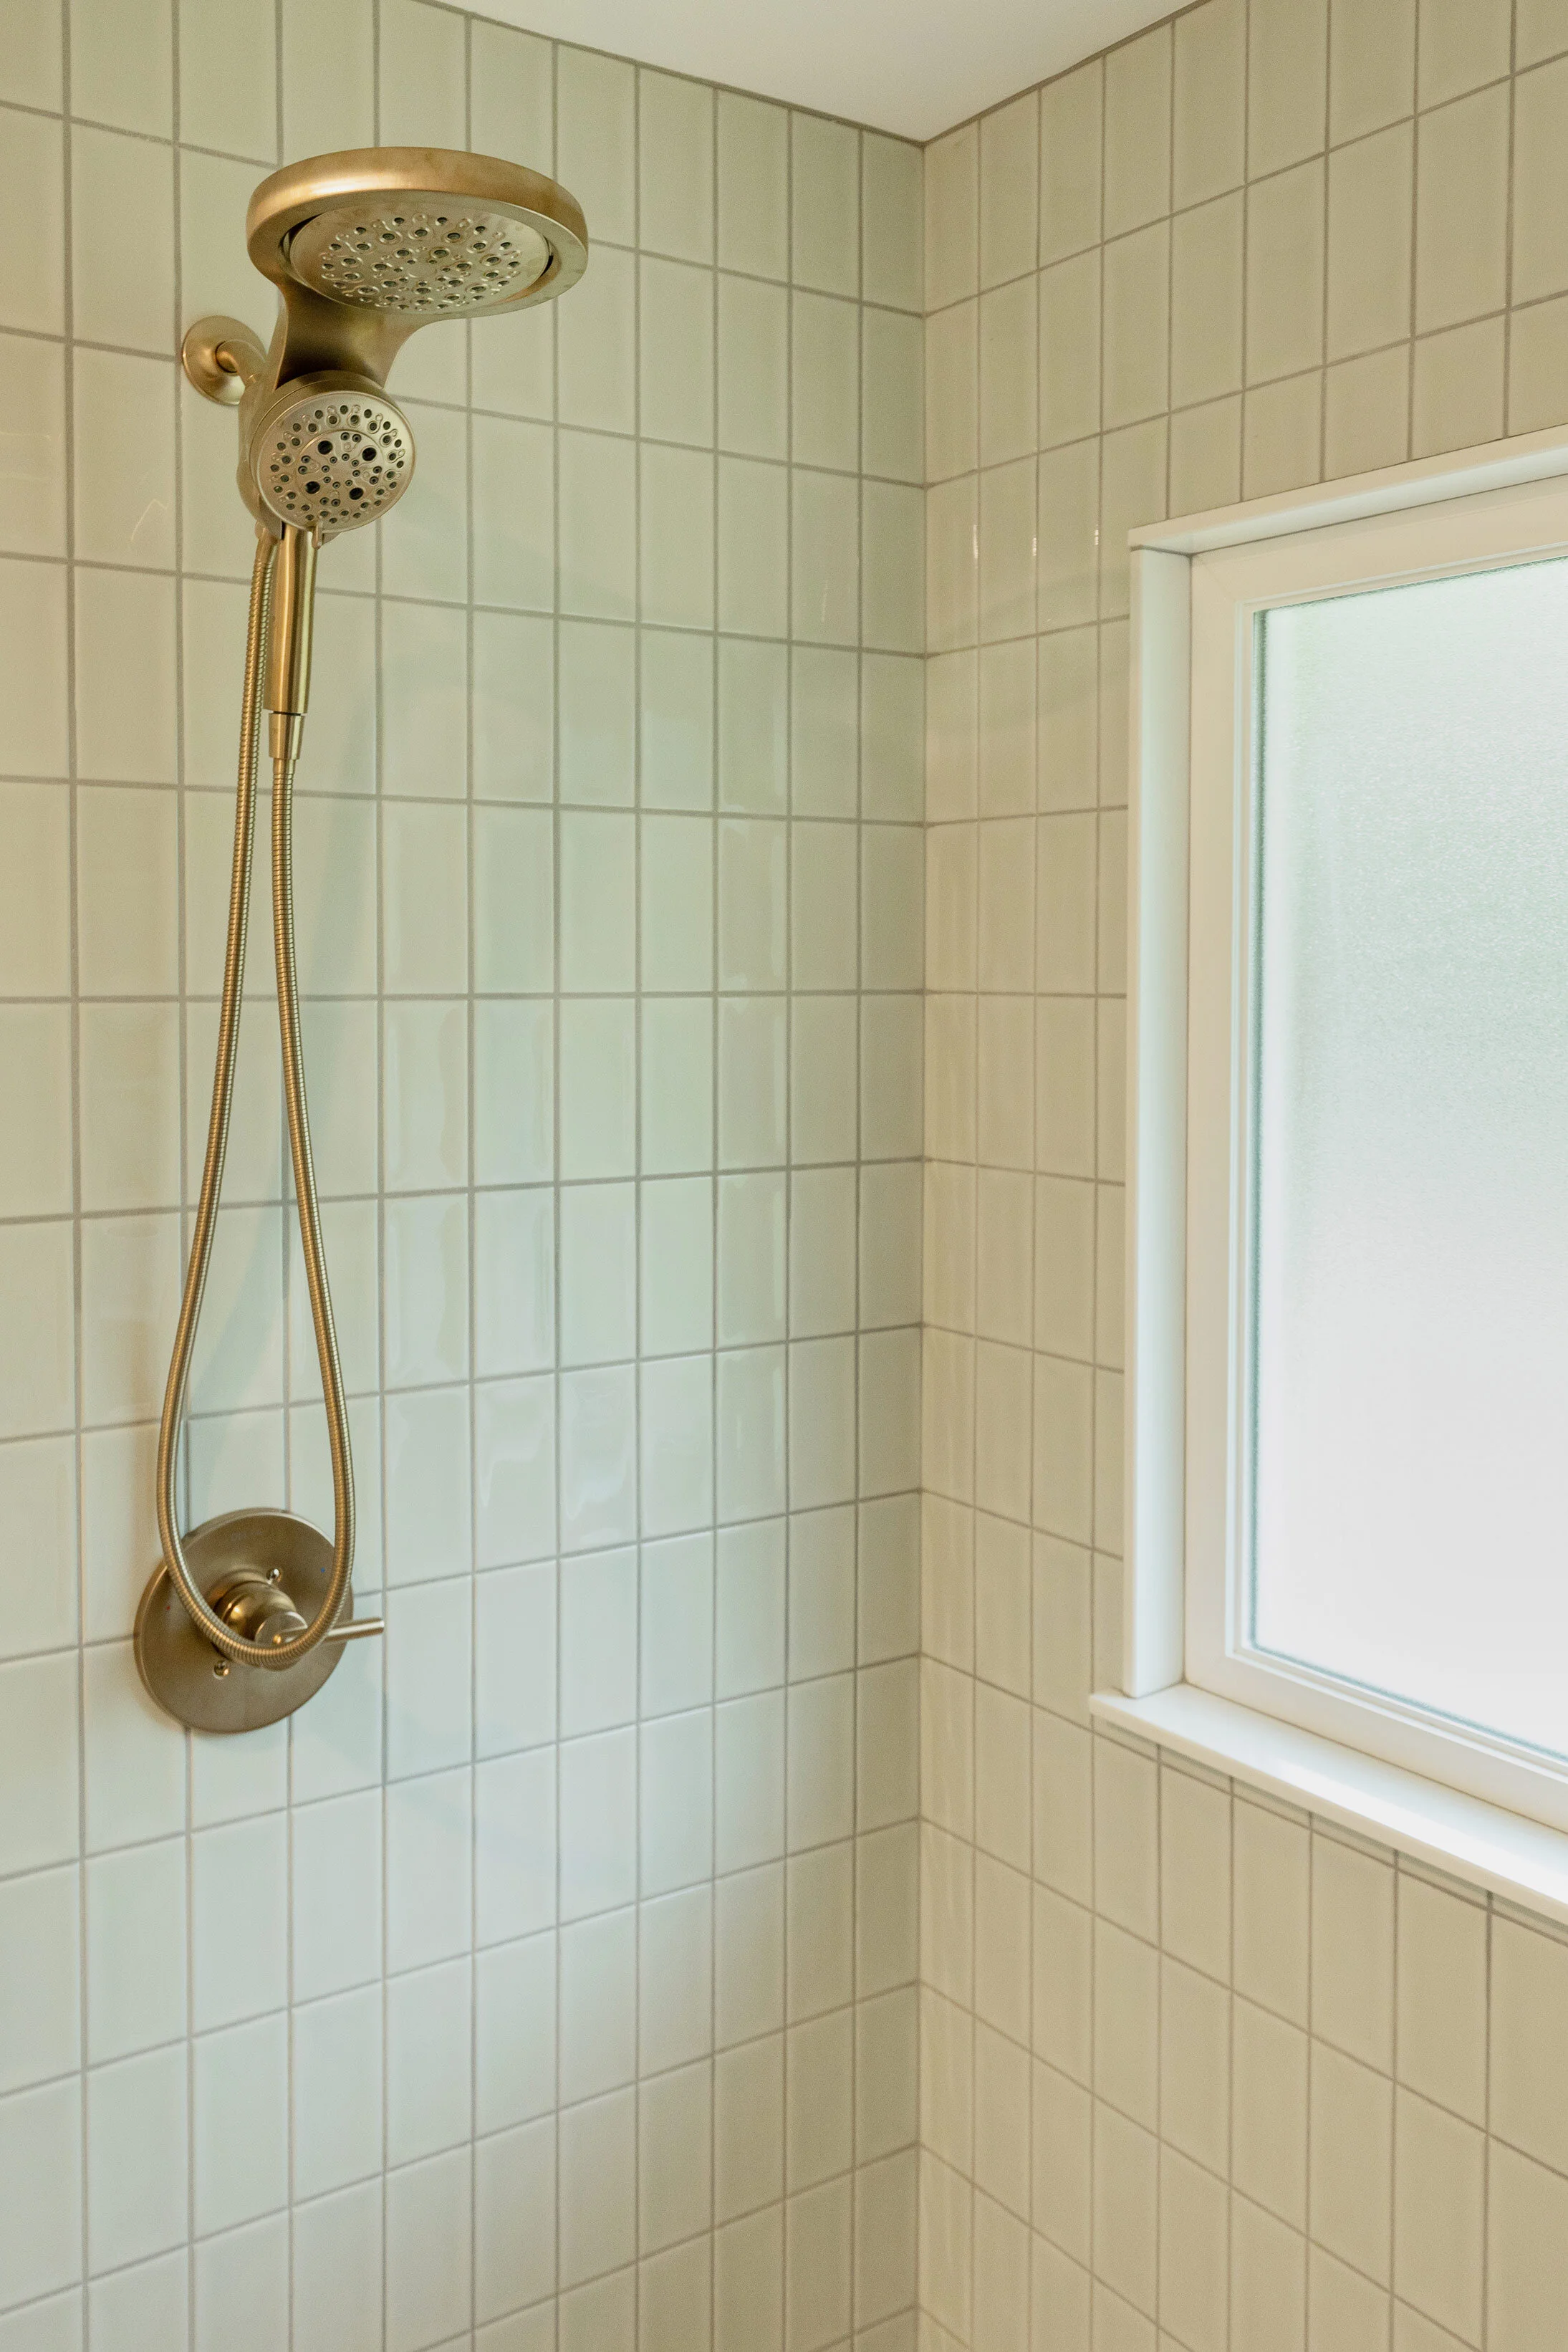
BEFORE: Old, worn tile makes original tub feel drab and outdated.

AFTER: Original tub gets a facelift with fresh tile surround / niche installation and updated fixtures.
check out more “after” photos here.
All “AFTER” photos are by Rachel Garrison Photography.